
Mobile photography tips have transformed how we capture everyday moments, turning a pocket-sized camera into a creative tool that fits in your pocket. With a modern smartphone, understanding lighting for phone photography, composition, and the right settings can elevate casual shots into compelling stories. In this guide, you’ll find practical, easy-to-apply techniques—what many call smartphone photography tricks—to help you use features like HDR, RAW capture, and focus controls. We’ll cover the best settings for mobile photography, how to harness available light, and practical composition tips for mobile photography that translate from street corners to studio-like scenes. Whether you’re chasing a sunrise or a candid street moment, these tips keep quality high without slowing you down.
Think of this field as smartphone camera guidance rather than a hard-and-fast technique, where everyday imaging relies on how a compact device handles light and motion. Clear concepts like how to control exposure, manage noise, and frame scenes become universal across brands, because the core ideas translate from iPhone to Android. From beginners to enthusiasts, the emphasis is on practice, observation, and deliberate adjustments—using the camera app, native modes, or third‑party tools to shape results. In practice, you’ll apply similar principles—attentive lighting, thoughtful composition, and careful post-processing—with terminology that reflects the broader field of mobile imaging. By thinking in alternative terms such as handheld photography, on‑the‑go imaging, and digital capture in the palm of your hand, you can master the craft without bulky equipment.
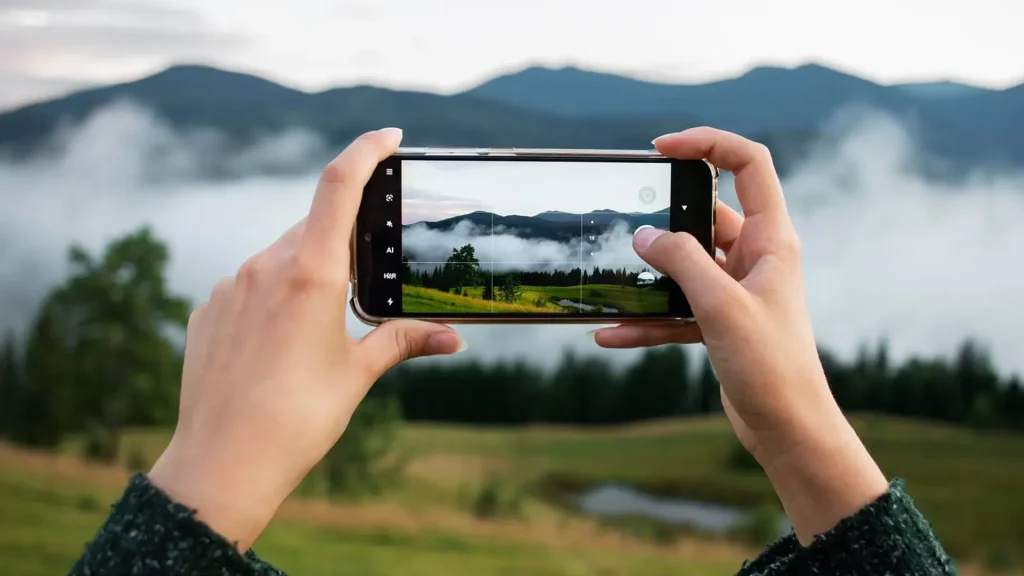
Mobile photography tips: Lighting, Composition, and Practical Techniques for Smartphone Shots
Mobile photography tips emphasize lighting and composition. In practice, position your subject so light falls from the side or front, avoiding direct backlight that creates silhouettes. This improves color, texture, and depth, making scenes feel more three-dimensional. Use composition tips for mobile photography such as the rule of thirds, leading lines, and natural framing to guide the viewer’s eye and add narrative to everyday moments.
Beyond technique, knowing your phone’s capabilities helps you pick the right tools. When possible, shoot in RAW or Pro/Manual mode, use HDR selectively, and tap to lock exposure on your subject. Stabilize with a hand brace or small tripod, keep lenses clean, and explore different perspectives with macro or ultra-wide lenses to maximize image quality with the best settings for mobile photography. These steps ensure consistent results across lighting conditions, from soft dawn to shade and urban glow, aligning with lighting for phone photography principles and composition tips for mobile photography.
Smartphone photography tricks: Mastering Best Settings for Mobile Photography and Post-Processing
Smartphone photography tricks open up more control than auto mode. Learn to adjust exposure compensation, white balance, and focus manually when your device offers Pro modes. Try burst shooting for fast action and pick the sharpest frame later. With these smartphone photography tricks, you can maintain detail in bright highlights and preserve color in shadows while keeping your edits efficient and non-destructive.
Post-processing is where you refine the look while preserving realism. Start with gentle tweaks to exposure, contrast, highlights, and shadows, and only modestly adjust vibrance or saturation to avoid over-saturation. Use non-destructive editors and crop for stronger composition tips for mobile photography, ensuring your final image remains natural. By combining soft corrections with correct white balance and stable framing, you’ll translate great captures into polished photos that reflect the moment rather than a processed effect.
Frequently Asked Questions
What are the best settings for mobile photography and the composition tips for mobile photography to improve your shots?
For the best results, apply the core Mobile photography tips: enable gridlines, tap to lock exposure, and shoot in RAW or Pro/Manual mode when available. Use a low ISO in bright light and a faster shutter to reduce noise and motion blur. For composition tips for mobile photography, follow the rule of thirds, use leading lines to guide the eye, frame your subject with natural elements, and vary angles to add depth. Stay steady with a tripod or solid support, keep lenses clean, and avoid digital zoom to preserve detail. This combo of smart settings and thoughtful composition helps most phones capture crisper, more engaging images.
How can I use lighting for phone photography and smartphone photography tricks to capture better street scenes?
Lighting for phone photography is the foundation of a great shot. In natural light, position the light source from the side or front and avoid harsh backlight. Take advantage of golden hour for warm tones, and when light is harsh, seek shade or diffuse the light. In low light, enable night modes and stabilize the camera; a slower shutter with a tripod can help. Pair these with smartphone photography tricks like tapping to focus and locking exposure, shooting in RAW/Pro mode when available, and using gridlines to compose. Together, smart lighting and practical tricks elevate street photography and other everyday scenes.
| Topic | Key Points | Practical Tips |
|---|---|---|
| Understanding Your Phone Camera |
|
|
| Lighting: The Fuel for Great Shots |
|
|
| Composition Tips for Mobile Photography |
|
|
| Settings and Tools to Improve Clarity |
|
|
| Stability, Focus, and Sharpness |
|
|
| Creative Techniques and Accessories |
|
|
| Post-Processing for Natural Results |
|
|
| Practical Scenarios and Real-World Tips |
|
|
| Common Mistakes to Avoid |
|
|
| A Quick Mobile Photography Tips Checklist |
|
|
Summary
Mobile photography tips empower you to transform everyday moments into compelling visuals. This overview highlights how understanding your camera, controlling light, composing effectively, and refining images through thoughtful post-processing can elevate smartphone photography. With practical steps, real-world scenarios, and tips to avoid common pitfalls, you can consistently produce sharper, more vibrant photos using only your phone. Embrace curiosity, practice regularly, and enjoy the process of telling stories through mobile photography.