
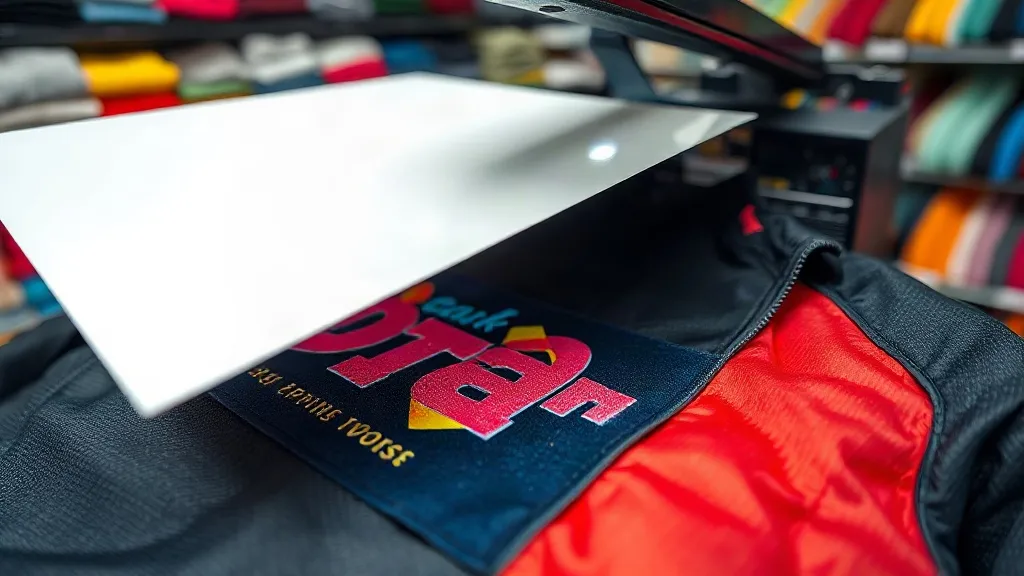
You have probably been there: a customer hands you a gorgeous nylon jacket or a stretchy polyester jersey and asks for a vibrant custom print. You run it through your usual process, and the result is a cracked, faded mess. The problem is not your design. It is the fabric. And that is exactly where dtf transfers change the game. Unlike vinyl or screen printing, DTF (Direct to Film) is engineered to bond with almost any material, from 100% cotton to tricky synthetics. But flawless results do not happen by accident. You need the right temperature, pressure, and peel technique. In this guide, I will walk you through the exact steps I use in my shop to get perfect prints on hard-to-handle fabrics, and share the lessons I learned the hard way.
Why DTF Transfers Work on Fabrics That Reject Other Methods
Traditional heat transfer vinyl (HTV) relies on a adhesive that sticks to the fabric surface. On cotton, that works fine. On polyester, nylon, or spandex, the adhesive often cannot grip, leading to peeling after a few washes. Screen printing requires the ink to bond with the fabric, which is nearly impossible on coated or waterproof materials. DTF transfers, however, use a different approach. The design is printed onto a special film, dusted with a thermoplastic powder, and then heat-pressed onto the garment. The powder melts and fuses with the fabric fibers, creating a mechanical bond that holds up on almost any surface. I have successfully applied dtf transfers to cotton t-shirts, polyester sports jerseys, nylon jackets, canvas bags, and even leather patches. The key is understanding how different fabrics react to heat and pressure.
Preparing Hard-to-Handle Fabrics for DTF Transfers
Before you press, prep is everything. Fabrics like nylon and polyester can be sensitive to heat, so you need to control moisture and prevent scorching. Here is my routine:
- Pre-press the garment: This removes wrinkles and moisture. Set your press to 280°F (138°C) and press for 5-7 seconds. For heat-sensitive fabrics, use a lower temperature (250°F) and press for 10 seconds.
- Use a cover sheet: A Teflon sheet or parchment paper protects the fabric from direct heat and prevents the transfer film from sticking to the press.
- Cool down: Let the garment cool completely before applying the transfer. This prevents the adhesive from activating too early.
For stretchy fabrics like spandex, I also recommend pre-stretching the garment slightly before pressing. This helps the transfer bond without restricting movement.
Step-by-Step: Applying DTF Transfers to Tricky Fabrics
1. Set the Right Temperature and Pressure
Temperature and pressure are the two variables that make or break a DTF application. For most fabrics, I use 300°F (150°C) and medium pressure (about 40-60 PSI). But for heat-sensitive synthetics like nylon, I drop the temperature to 280°F (138°C) and increase the pressure slightly to ensure good contact. Always test on a scrap piece of fabric first. I keep a stack of fabric swatches in my shop for this exact purpose.
2. Position and Press
Place the transfer film on the garment with the printed side facing up. Cover with a Teflon sheet or parchment paper. Press for 10-15 seconds. For thicker fabrics like canvas, extend the time to 20 seconds. Do not move the press during this time; consistency is key.
3. Peel with Care
Peeling is where many people rush. For DTF, you have two options: hot peel or cold peel. Hot peel (peeling immediately after pressing) works well on cotton and blends. Cold peel (waiting until the transfer is completely cool) is better for synthetics and stretchy fabrics because it allows the adhesive to set fully. I always use cold peel for nylon and polyester. Peel slowly at a 180-degree angle. If you feel resistance, let it cool a bit more.
4. Post-Press for Durability
After peeling, cover the design with a Teflon sheet and press again for 5-10 seconds. This final press ensures the transfer is fully bonded and improves wash durability. I also recommend turning the garment inside out and pressing the back for 5 seconds to set the fibers.
Common Pitfalls and How to Avoid Them
Even with the right settings, things can go wrong. Here are the most common issues I see and how to fix them:
- Transfer peeling after washing: Usually caused by insufficient pressure or too low a temperature. Increase pressure and check your press gauge with a pressure test.
- Cracking: Often happens when the transfer is stretched during application. Pre-stretch the fabric and use a cold peel.
- Discoloration on dark fabrics: Some cheap DTF films have a yellow tint that shows on dark colors. Invest in high-quality film with a clear adhesive layer.
- Film sticking to the press: Always use a cover sheet. If the film melts onto the press, clean it immediately with a heat press cleaner.
I learned these lessons through trial and error, and they have saved me countless wasted blanks and frustrated customers.
Choosing the Right DTF Transfer for the Job
Not all DTF transfers are created equal. The quality of the film, the powder, and the printing process all affect the final result. For tough fabrics, look for transfers with a high-quality adhesive powder that is designed for low-temperature application. I also recommend testing a small batch before committing to a large order. If you are sourcing transfers, consider working with a supplier that offers samples and provides technical support. The right partner can make all the difference.
Frequently Asked Questions
Can DTF transfers be used on waterproof or coated fabrics?
Yes, but with caution. Waterproof fabrics like nylon often have a coating that can melt under high heat. Use a lower temperature (250-270°F) and a longer press time. Always test on a hidden area first. If the fabric warps or discolors, reduce the temperature further.
How do I wash garments with DTF transfers to ensure they last?
Turn the garment inside out and machine wash cold. Avoid fabric softener and bleach. Tumble dry low or hang dry. Following these steps will keep the transfer looking new for years.
What is the best way to store DTF transfers before use?
Store them in a cool, dry place away from direct sunlight. Keep them flat to prevent creasing. If they are exposed to moisture, the powder can clump, so consider storing them in a sealed bag with a desiccant pack.
Can I layer DTF transfers with other prints?
Yes, you can layer DTF transfers, but it requires careful planning. Press the first layer, then cool and peel. Apply the second layer on top and press again. Use a cover sheet to protect the design. Layering works best on cotton and blends.
Why do my DTF transfers look dull after washing?
Dullness usually comes from improper curing. Make sure you post-press the transfer after peeling. Also, check that your washing machine is not using harsh detergents. If the problem persists, try a different brand of transfer film.